WiFi QR Code Creator: What to Check Before You Print
Using a WiFi QR code creator? Learn what to test before printing your QR code, from phone compatibility and scan distance to real-world usability.
Creating a Wi-Fi QR code can take less time than making a cup of coffee. The part that deserves a little more attention comes afterward.
- Creating the QR Is Only Step One
- First, Make Sure It Points to the Right Network
- Don't Test It on Only One Phone
- Your Screen Is Not the Same as a Printed Card
- Test From the Distance People Will Actually Scan
- Don't Let Design Beat Function
- Give the QR Enough Room to Breathe
- Test the Size You Actually Plan to Use
- Add Just Enough Information Beside It
- Do the Forget-and-Reconnect Test
- What If You're Printing a Lot of Copies?
- A Quick Pre-Print Checklist
- The Best QR Code Is the One Nobody Has to Think About
A QR code can look perfectly fine on your screen and still become annoying when it is printed, placed on a table, hung on a wall, or scanned from across a room. And if you're planning to print 50, 100, or even 1,000 copies, discovering a problem afterward is a particularly expensive way to learn a very small lesson.
Before you turn that QR code into stickers, table cards, posters, menus, or signs, give it a proper real-world test. Here's what actually matters.
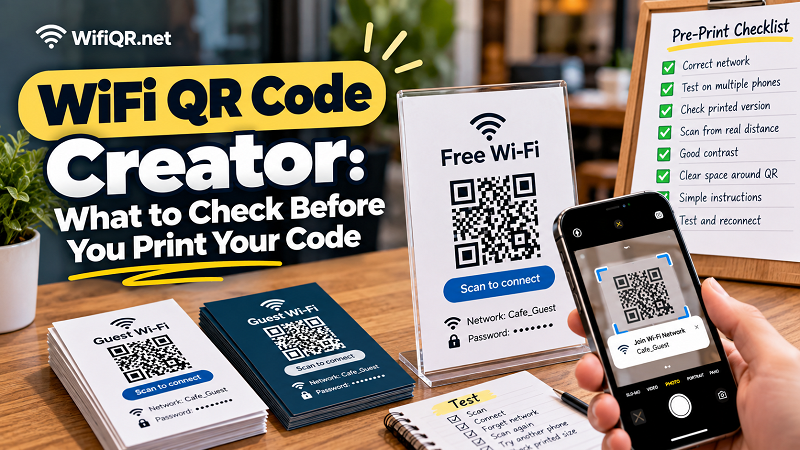
Creating the QR Is Only Step One
There are really four stages to a useful Wi-Fi QR code:
Create → Test → Print → Deploy
Most people focus heavily on the first step and barely think about the other three.
That's backwards.
The QR code isn't the final product. The final product is the moment when someone points their phone at it and gets connected without having to ask you what the password is.
So before you send anything to the printer, treat your QR code like a tiny piece of user-facing technology. Test it before you trust it.
First, Make Sure It Points to the Right Network
This sounds obvious, but it's one of those mistakes that can survive surprisingly long if nobody checks.
Look at the network information you've entered and make sure it matches the network people are actually supposed to use.
Pay attention to the Wi-Fi name, password, and security configuration. If your location has multiple networks — for example, one for employees and another for guests — make absolutely sure the QR code belongs to the correct one.
A beautifully printed QR code for the wrong network is still a beautifully printed mistake.
It's worth doing one complete connection test rather than simply scanning the code and assuming everything is fine.
Don't Test It on Only One Phone
Your phone works. Excellent.
That proves your phone works.
It doesn't necessarily tell you much about everyone else's experience.
If possible, test the QR code using more than one device. An iPhone and an Android phone are a useful starting point, particularly if the QR code will be used by customers, guests, or visitors with devices you don't control.
You don't need to build a laboratory around this. Just grab another phone and try it.
Does the camera recognize the QR quickly? Does the Wi-Fi connection prompt appear as expected? Does the device actually connect?
A second test takes less than a minute and can expose problems your first device never showed you.
Your Screen Is Not the Same as a Printed Card
This is where many QR codes get their first reality check.
On your monitor, the code may be crisp, large, bright, and beautifully contrasted. Your printer has other ideas.
Once printed, the QR might become smaller than expected. Fine details can soften. A glossy surface can create reflections. A dark background can reduce contrast. An image exported at the wrong quality can introduce unwanted artifacts.
That's why you should test the actual printed version, not just the digital file.
Print one sample at the size you intend to use.
Then scan that sample.
If the final product is going to be a small tabletop card, test a small tabletop card. If it's going on a large wall sign, test it at that scale.
The closer your test is to reality, the more useful the result.
Test From the Distance People Will Actually Scan
Here's another easy trap: testing from six inches away because that's convenient.
Your customers may not be standing six inches away.
A QR code on a reception desk might be scanned from a few feet away. A wall poster might be viewed from across a room. A table card might be scanned while someone is sitting down.
The scanning distance affects the experience.
Stand where your user will stand. Hold the phone naturally. Don't stretch your arm toward the QR code like you're trying to photograph a rare bird.
If you have to move around several times before the camera recognizes it, consider changing the size or placement.
The test should imitate normal human behavior, not perfect laboratory conditions.
Don't Let Design Beat Function
This is where creativity can occasionally get carried away.
Rounded corners? Nice.
Brand colors? Sure.
A logo in the middle? Potentially useful.
Fancy background? Maybe.
But none of those things matter if the QR becomes difficult to scan.
A QR code is fundamentally a functional graphic. Its first job is to work.
If you're customizing the appearance, keep the basic scanning experience in mind. Strong contrast and a clean surrounding area are much more valuable than decorative details that make the code look impressive in a design mockup.
A QR code doesn't need to win a beauty contest. It needs to get someone onto Wi-Fi.
Give the QR Enough Room to Breathe
QR codes need a clear area around them so scanning software can distinguish the code from its surroundings.
That means you shouldn't cram the QR directly against:
- large blocks of text
- decorative borders
- photographs
- busy patterns
- other graphic elements
Leave some breathing room.
This becomes especially important when you're designing a menu, poster, business card, or branded sign where the QR is surrounded by other visual elements.
Think of the empty space around the code as part of the code's usability, not wasted space.
Test the Size You Actually Plan to Use
There isn't one magical QR size that works for every situation.
A code printed on a small table card has different requirements from one displayed on a wall. A person scanning from a short distance has a different experience from someone scanning several feet away.
Instead of asking, “What's the perfect QR size?”, ask a better question:
“How will people actually use this?”
If people will be sitting directly beside the QR, a compact design may be perfectly practical.
If people will approach a sign from several feet away, give them more room.
And remember that a larger QR isn't automatically better if the surrounding design makes it difficult to recognize. Size, contrast, placement, and viewing distance all work together.
Add Just Enough Information Beside It
A QR code appearing by itself can leave people wondering what they're supposed to do.
A tiny label solves that.
Something as simple as:
Guest Wi-Fi
Scan to connect
is usually enough.
You can also display the network name beneath it if that helps people confirm they're connecting to the correct network.
There's no need to write a miniature instruction manual beside the QR. If the user has to read a paragraph before understanding what the square is for, the design is doing too much.
Clear beats clever.
Do the Forget-and-Reconnect Test
Here's a useful test that takes almost no time.
Connect your phone to the Wi-Fi using the QR code.
Then forget that network from the device.
Scan the QR again and reconnect.
Why bother?
Because you're testing the complete experience rather than simply confirming that the QR can be recognized.
If the code is going to be used by guests, customers, or visitors, that's the experience that matters: someone arrives with a device that isn't connected and needs to get online.
Run the process from beginning to end.
What If You're Printing a Lot of Copies?
This is where a 60-second test becomes surprisingly valuable.
Before ordering a large print run, make one physical sample.
Check it in the environment where it will live:
- Can I see it?
- Can I reach it?
- Can my phone recognize it?
- Does the connection work?
- Can another phone do the same thing?
If the answer to all five is yes, you're in much better shape.
If one answer is no, congratulations — you just found the problem before printing hundreds of copies.
That's a good problem to have.
A Quick Pre-Print Checklist
Before sending your Wi-Fi QR design to production, run through this short checklist:
- Correct Wi-Fi network
- Correct password
- Correct security settings
- Successful scan
- Successful connection
- Tested on more than one phone
- Tested at the final printed size
- Tested from the expected scanning distance
- Good contrast
- Clear space around the QR
- Simple instructions
- Physical sample tested
It doesn't take long. And compared with replacing a stack of incorrectly printed signs, it's practically free.
The Best QR Code Is the One Nobody Has to Think About
A good Wi-Fi QR code should feel almost boring.
Someone sees it. They understand what it does. They scan it. They connect.
No typing. No asking an employee to repeat a complicated password. No squinting at a tiny code. No wondering whether the QR actually works.
If you use a wifi qr code creator, don't consider the job finished when the QR appears on your screen. The real test begins when that QR leaves your computer and enters the physical world.
Print a sample. Test it like a real person. Try another phone. Check the actual distance. Fix anything that feels awkward.
Then print the hundred copies.
That's the difference between a QR code that exists and a QR code that actually gets used.